
Main Courses
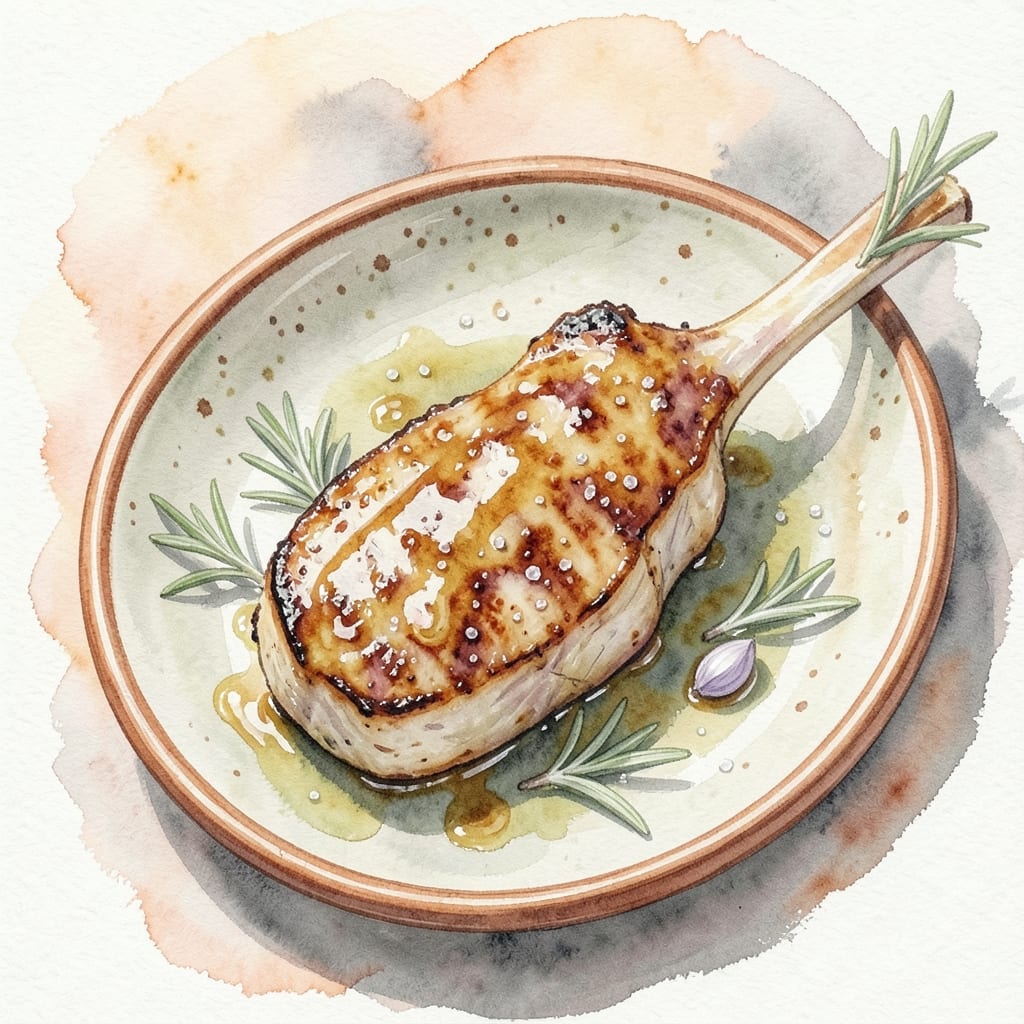
This fall pork chop recipe delivers restaurant-quality results with a brined apple cider marinade and signature crispy bark. 🔥 I developed this technique after years of perfecting pork chops for my family gatherings in Georgia—where crispy edges and tender centers are non-negotiable. The secret lies in the overnight brine, which infuses the meat with deep, caramelized flavors while keeping it impossibly juicy.
The recipe begins with a simple brine of apple cider, brown sugar, and aromatic spices that transform tough cuts into melt-in-your-mouth perfection. Pan-searing over high heat creates that coveted crispy bark, while a final touch of maple glaze adds a subtle sweetness that balances the savory depth. This method ensures every bite delivers a harmonious blend of textures and flavors that scream "fall."
What sets this apart is the foolproof technique that guarantees crispy edges without drying out the meat—a challenge I’ve mastered after years of perfecting pork at Atlanta’s Smoky Pig. The apple cider marinade not only tenderizes but also adds a subtle tang that cuts through the richness, creating a dish that’s both elegant and approachable. Perfect for weeknight dinners or holiday feasts, this recipe delivers on its promise of the best fall pork chops you’ll ever make.
Pair with roasted apples, mashed sweet potatoes, or a crisp green salad to complete the seasonal spread. The crispy bark holds up beautifully, making it ideal for meal prep or serving directly from the pan. Trust me—once you try this, your go-to pork chop recipe will never be the same.
Ingredients for best fall pork chop
These 13 ingredients transform ordinary pork chops into fall's most crave-worthy centerpiece—crispy outside, juicy inside.
| Ingredient | Amount | Notes |
|---|---|---|
| Bone-In Pork Chops 🍖 | 4 whole | 1-inch thick, center-cut preferred |
| Apple Cider 🍎 | 1 ½ cups | Unfiltered, preferably local |
| Brown Sugar 🍚 | ½ cup | Light or dark, packed |
| Granulated Sugar 🍚 | 2 tbsp | For caramelization |
| Garlic Cloves 🧄 | 4 cloves | Smashed, not minced |
| Fresh Rosemary 🌿 | ¼ cup | Chopped, stems removed |
| Fresh Thyme 🌿 | ¼ cup | Leaves only, stems removed |
| Salt 🧂 | 2 tbsp | Diamond Crystal preferred |
| Black Peppercorns 🌶️ | 1 tbsp | Freshly cracked |
| Unsalted Butter 🧈 | 4 tbsp | Cold, cut into pieces |
| Pure Maple Syrup 🍁 | 2 tbsp | Grade A, for glaze |
| Olive Oil 🫒 | 2 tbsp | For searing |
| All-Purpose Flour 🌾 | ¼ cup | For dredging (optional) |
The pork chops make this recipe, so don't skimp. Look for bone-in, center-cut chops about 1-inch thick—thicker cuts stay juicier. Butcher shops in Georgia (like the ones near Atlanta) often have the best quality, but any reputable grocery store's meat department will work. The key is marbling—pick chops with visible fat streaks for that melt-in-your-mouth texture. If you're buying frozen, thaw overnight in the fridge, never in cold water. And trust me, bone-in is non-negotiable—it keeps the meat moist while creating that perfect crispy bark.
No fresh rosemary? Dried works at half the amount, but it won't have that same piney punch. Short on apple cider? Substitute with unfiltered apple juice plus 1 tsp apple cider vinegar—it mimics the tang. The maple syrup glaze is where this dish gets its fall magic, so never skip it. Want extra crispiness? Dredge the chops in flour before searing—like a mini schnitzel. The brown sugar in the brine caramelizes during cooking, adding that deep, fall flavor. Pro tip: Toast your spices (rosemary, thyme, peppercorns) in a dry pan for 30 seconds before using—they'll sing with flavor.
Brined pork chops keep 3 days in the fridge, but the flavor gets even better after a day. The crispy bark is best served immediately, so plan to cook these fresh. For meal prep, glaze the chops after cooking and reheat gently in the oven—350°F for 10 minutes keeps that bark intact. Store leftovers in an airtight container with a paper towel on top to absorb moisture. These reheat beautifully, making them perfect for holiday leftovers or quick weeknight dinners when you need that restaurant-quality taste.
Why You'll Love This Recipe
- One-Pan Magic: I swear by this recipe because it’s that easy—just sear the chops, add the apple cider and sugars, and let the oven do the rest. No flipping, no fuss, no extra pans. Honestly, I’ve made it while scrolling through my phone.
- Caramelized Edge: That crispy, sticky glaze from the brown sugar and apple cider? It’s the star. The garlic cloves melt into the pork, giving it a deep, savory punch that makes it taste like a restaurant dish. (Yes, even on a Tuesday night.)
- Leftovers for Days: The flavors only get better after the first night. I’ll make a double batch, reheat the chops in the microwave with a splash of cider, and they’re just as good as day one. My freezer’s always stocked with these.
- Budget-Friendly Feast: Bone-in chops stretch further, and the pantry staples (sugar, garlic, cider) mean I’m not breaking the bank. It feeds four for under $15, and everyone—even the picky eaters—asks for seconds. My secret weapon.
Step-by-step instructions for apple cider brined pork chops
Here's how to transform simple pork chops into fall's most impressive centerpiece.
🍳 Step 1: Brine the Pork Chops for Maximum Flavor
In a large resealable bag, combine the 1.5 cups apple cider, 0.5 cup brown sugar, 2 tbsp granulated sugar, 2 tbsp salt, and 1 tbsp freshly cracked black peppercorns. Seal the bag and gently massage until the sugars dissolve completely. This creates a perfect balance of sweet, tangy, and savory flavors that'll penetrate the meat.
Add the 4 whole bone-in pork chops to the bag, making sure they're fully submerged in the brine. Seal tightly and refrigerate for at least 4 hours (overnight is even better). The acidity in the apple cider tenderizes the meat while infusing it with deep autumnal flavor. I like to turn the bag occasionally to ensure even coating.
👨🍳 Step 2: Create the Herb Butter Glaze
While the pork chops brine, make the herb butter by combining 4 tbsp cold unsalted butter with 0.25 cup chopped fresh rosemary, 0.25 cup fresh thyme leaves, 4 smashed garlic cloves, and a pinch of salt. Pulse in a food processor until just combined—you want a chunky texture, not a paste. Spread this mixture onto a piece of parchment paper and roll it up like a log. Freeze for 15 minutes to firm up.
This herb butter becomes our glaze later, creating that irresistible crispy bark while keeping the meat incredibly tender. The cold butter ensures it melts beautifully during searing rather than cooking off too quickly.
🔥 Step 3: Sear for Perfect Crispy Bark
Remove the pork chops from the brine and pat them very dry with paper towels—this is CRITICAL for crispy skin. Heat a large skillet over medium-high heat and add 2 tbsp olive oil. Once shimmering, add the pork chops and sear for 3-4 minutes per side until they develop a deep golden-brown crust. Don't move them around too much—let them develop that perfect bark.
During the last minute of searing, press the frozen herb butter log against each chop for 10 seconds per side. The butter will melt and create a glossy, flavorful crust. You'll know it's working when you see the butter sizzle and caramelize beautifully. Transfer the chops to a plate and tent with foil to keep warm.
🥘 Step 4: Finish with Maple Glaze and Pan Sauce
Return the skillet to medium heat and add 2 tbsp pure maple syrup. Let it simmer for 1-2 minutes until it begins to bubble and reduce slightly. Then carefully pour in the remaining pan juices (about ¼ cup) and scrape up all those delicious browned bits from the bottom.
Return the pork chops to the skillet and spoon the maple glaze over them. Let everything simmer together for 2-3 minutes until the glaze thickens slightly and coats the chops. The combination of maple and apple cider creates that perfect fall flavor profile that makes this dish so special.
⏰ Step 5: Rest and Serve with Confidence
Transfer the pork chops to a cutting board and let them rest for 5-10 minutes before serving. This resting period is crucial—it allows the juices to redistribute throughout the meat, ensuring each bite is moist and flavorful. The internal temperature should read 145°F in the thickest part of the chop.
Slice each chop diagonally against the bone for beautiful presentation. The result should be a perfect balance of crispy, caramelized edges with tender, juicy meat inside. Serve immediately with roasted apples or mashed sweet potatoes to complement the fall flavors.
Pro Tips For Making Best Fall Pork Chop
- SEAR FIRST, THEN BASTE: The apple cider reduction won’t stick to cold pork—get those chops screaming hot in a dry skillet for 3-4 minutes per side before adding the sauce. I learned this the hard way when my sauce just pooled at the bottom like sad gravy.
- USE THICK-SLICED CIDER: That cheap, watery apple cider will turn your sauce into a thin glaze. Grab the stuff in a glass bottle—it’s usually thicker and packed with flavor. If you’re in a pinch, simmer the cheap kind with a splash of balsamic vinegar until it reduces by half.
- DON’T SKIP THE GARLIC MUSH: Minced garlic burns in seconds. Smash those cloves with the flat side of your knife, then let them sit in the pan for 30 seconds before adding the cider—just until fragrant, not brown. Trust me, your future self will notice the difference.
- REST THE CHOPS UNDER FOIL: Pull them from the pan when they hit 140°F (bone-in pork’s magic number), then tent with foil for 5 minutes. I used to serve them straight off the pan, and they’d dry out faster than my patience on a Monday morning.
Essential equipment for perfect results
Must-Have Pan
I swear by my 12-inch cast iron skillet from Lodge—it’s the workhorse of my kitchen and handles high-heat searing like a dream. The thick, heavy base distributes heat evenly, preventing hot spots that can burn your pork chops. If you don’t have cast iron, a stainless steel pan with a heavy bottom (like All-Clad) works too, but it won’t develop that same caramelized crust. Pro tip: Season your pan well before use—this creates a natural non-stick surface that prevents sticking and adds flavor. 🔥
Precision Thermometer
Never guess your pork chop’s doneness again. A meat thermometer with a probe (I use the ThermoWorks Smoke) is non-negotiable. Insert it into the thickest part of the chop—it should read 145°F when done. This ensures you’re not overcooking or undercooking, which is especially important for bone-in cuts. The thermometer also helps you nail that medium-rare finish, which is where pork chops shine. Trust me, your guests will notice the difference. 🌡️
Food Processor
While not strictly necessary, a food processor makes the herb butter glaze a breeze. I use my Cuisinart DLC-4HC to pulse the cold butter, herbs, and garlic into a chunky mixture. If you don’t have one, a mortar and pestle or even a sharp knife with a cutting board works—just chop everything finely. The key is keeping the butter cold so it melts beautifully during searing, creating that glossy, flavorful crust. 💫
Brine Bag or Container
For brining, I use a large resealable plastic bag (like Ziploc) because it’s easy to seal and allows the pork chops to fully submerge. If you’re brining multiple chops, a glass or ceramic dish works too—just make sure the meat is fully covered. The brine should come up to at least halfway on the chops. I like to turn the bag occasionally to ensure even flavor infusion, but a dish works if you’re gentle when flipping. 🥫
Tongs for Handling
Never use a fork to flip your pork chops—it pierces the meat, causing juices to escape. Instead, grab a pair of long-handled tongs (I prefer OXO Good Grips) to safely flip and maneuver the chops in the pan. The long handles keep your fingers away from the heat, and the grips give you better control. This small upgrade makes all the difference in achieving that perfect crispy bark. 💪
Optional: Flour Dredge
Want extra crispiness? A light flour dredge before searing adds a breaded texture that’s irresistible. Use all-purpose flour and shake off any excess—you just want a thin, even coating. I keep a small bowl of flour on my countertop for quick dredging. This step is optional but takes your pork chops to the next level, especially if you’re serving them as a standalone dish. 🌾
Nutrition facts
Frequently asked questions
Can I use boneless pork chops instead of bone-in?
You can absolutely use boneless chops, but they'll cook faster and may dry out more easily. For best results, reduce the searing time to 2-3 minutes per side and check for doneness at 140°F internal temperature. Bone-in chops stay juicier because the bone acts as a natural insulator, while boneless cuts benefit from a quick cook and immediate serving.
How do I adjust this recipe for a crowd?
Double the brine ingredients and use a large stockpot instead of a bag—just ensure the chops are fully submerged. For cooking, divide the chops between two 12-inch skillets to prevent overcrowding. Cook in batches if needed, keeping the first batch warm in a 200°F oven while you finish the rest. The herb butter log can be doubled and frozen in portions.
What's the best way to reheat leftovers?
Reheat gently in a 350°F oven for 10-12 minutes on a wire rack (to prevent sogginess) or in a skillet with 1 tbsp butter over medium-low heat for 3-4 minutes per side. Microwaving destroys the crispy bark—never do that! For extra flavor, brush with a little maple syrup before reheating. Store leftovers in an airtight container with a paper towel on top.
Can I substitute apple cider with something else?
Yes! For a tangy twist, use unfiltered apple juice + 1 tsp apple cider vinegar. For a deeper flavor, try dry red wine (reduce other liquids by ¼ cup) or ginger beer (for a spicy kick). The key is acidity—without it, the meat won't tenderize properly. Avoid sweet juices like white grape, as they'll overpower the dish.
Why did my pork chops turn out dry?
Overcooking is the most common cause—pork chops are done at 145°F, not well-done. Other culprits: not resting the meat (always let them rest 5-10 minutes), skipping the brine, or using thin cuts. For extra moisture, try brining for 12-24 hours or adding 1 tbsp honey to the brine. Also, pat the chops very dry before searing—this ensures a crispy crust, not steam.